User Authentication in ReactJS using Firebase

This is an attempt to give you a step by step tutorial to handle user authentication in ReactJS using Firebase.
If you face any issues throughout the tutorial, you can refer to the code in the GitHub repository .
Our goal is to build a simple project which displays a message after successful login or creation of new account along with the username.
Here is a quick preview
Prerequisites
- Node.js installed
- Code editor — I prefer Visual Studio Code
- Google account — To use Firebase
- Basic knowledge of React
Steps to achieve our goal
- Project Setup with CRA
- Setting up Firebase
- Integrating Firebase into our React app
- Create login/signup form and display message.
- Conclusion
1. Project Setup with CRA
Lets start by creating the react app. To do the same open your code editor's terminal and start by executing this command to install the react app.
npx create-react-app react-auth-firebase
Now that your project is set up go to the project directory you just created ( i.e. react-firestore ) and start the react app using the following commands.
cd react-auth-firebase
npm start
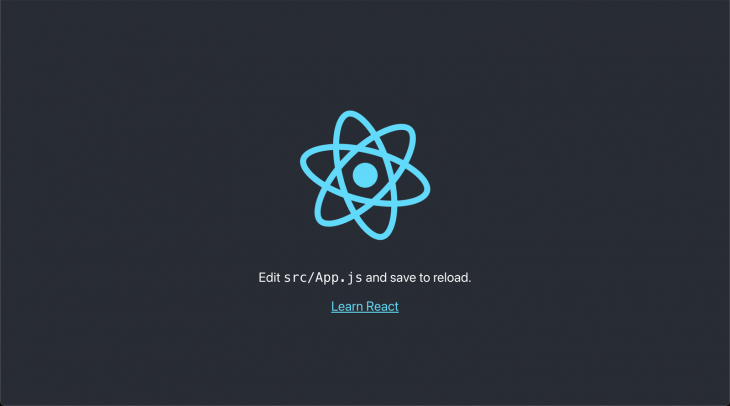
This should fire up your browser and you should see the following screen
Your newly created project’s folder structure should be similar to the image below.
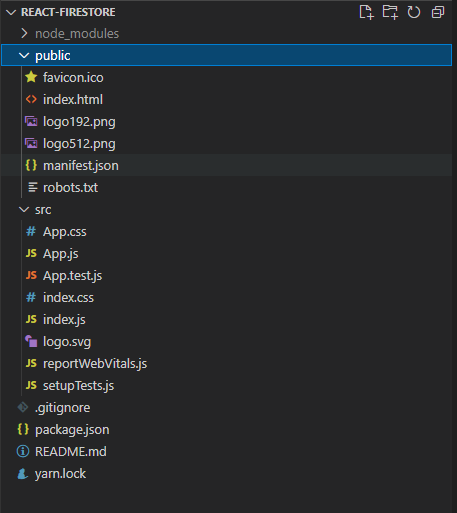
Now, let’s do some cleanup and delete some files from the src folder.
- App.test.js
- logo.svg
- setupTests.js
Once you delete these files, delete all the contents of App.css and remove the logo imports in App.js and empty the div so that your App.js looks like this
import './App.css';
function App() {
  return (
    <div className="app">

    </div>
  );
}
export default App;
2. Setting up Firebase
1. Create a Firebase project
Before we code the login/signup form on our React app we need to add a project to the Firebase on the Firebase Console. Make sure you are logged into your Google account.
Click on the Add Project card which will take you to a 3 steps process.
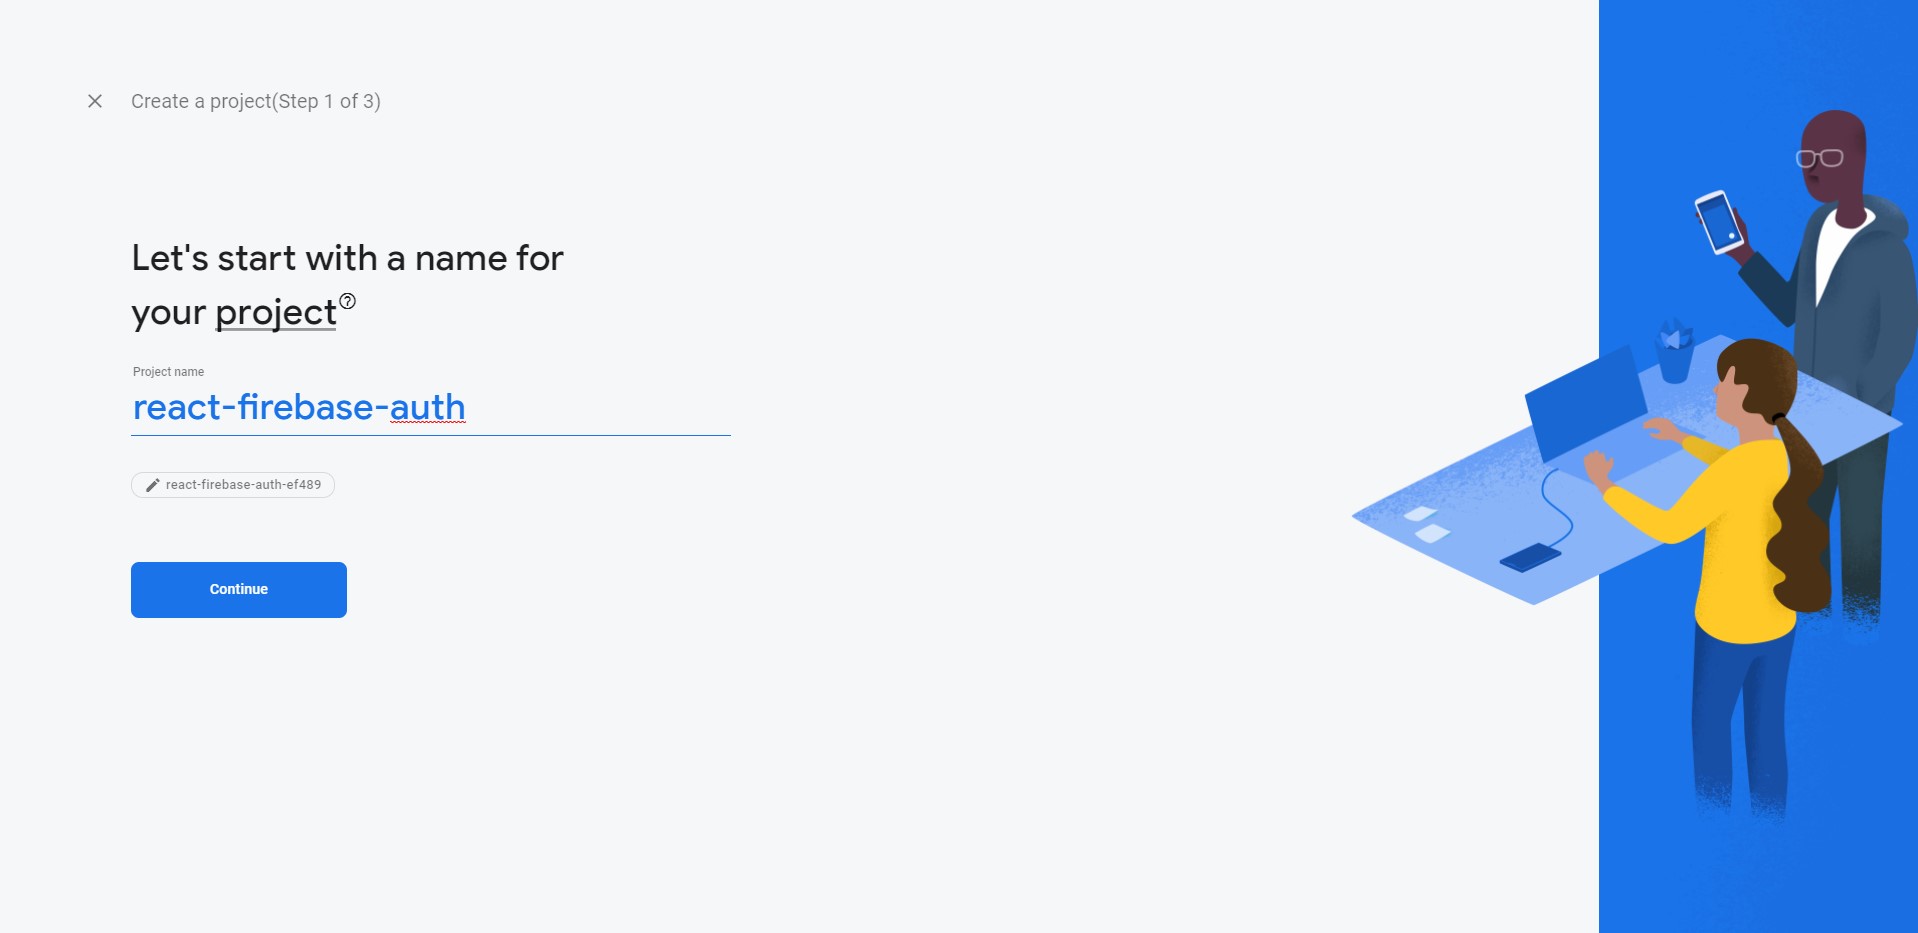 Here you have to enter the name of your project ( you are free to choose any name for your project ). After entering the name click on continue to go to the next step.
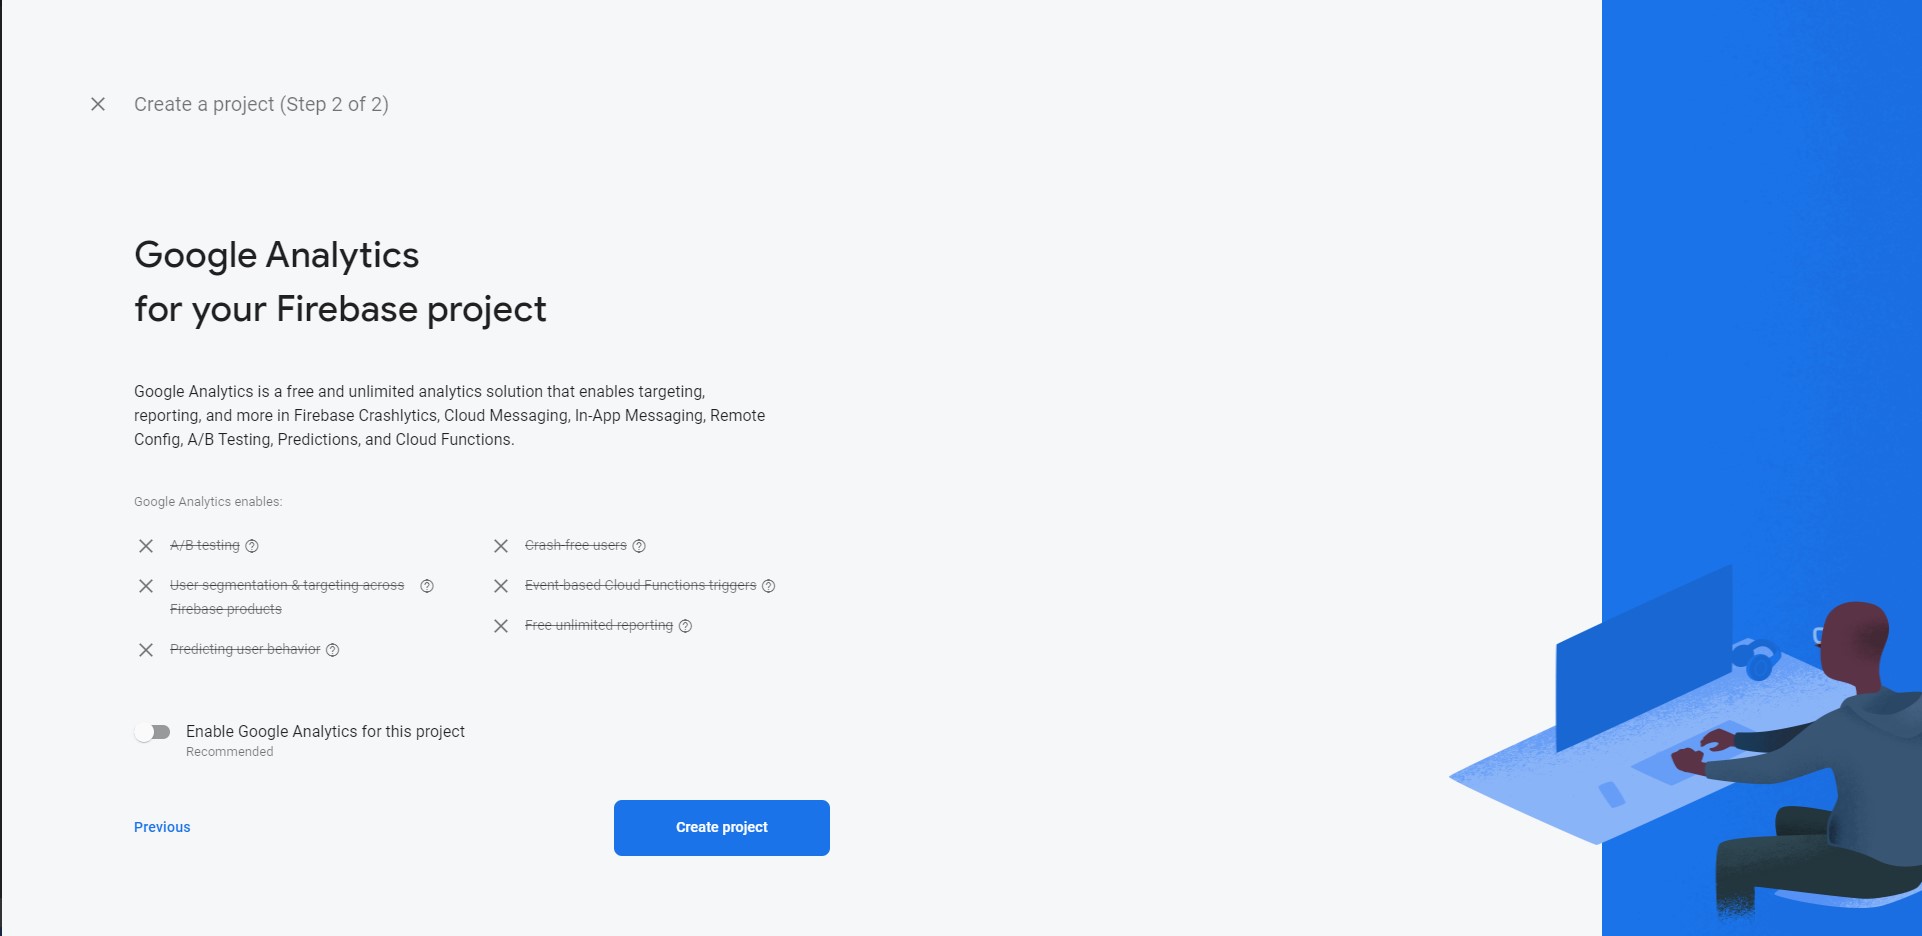 We don't need Google analytics for this project so you can just disable it by clicking on the toggle button. After disabling, click on Create project button and wait for the project to setup.
2. Register an app in your firebase project
We need to select the type of app to configure our firebase project.
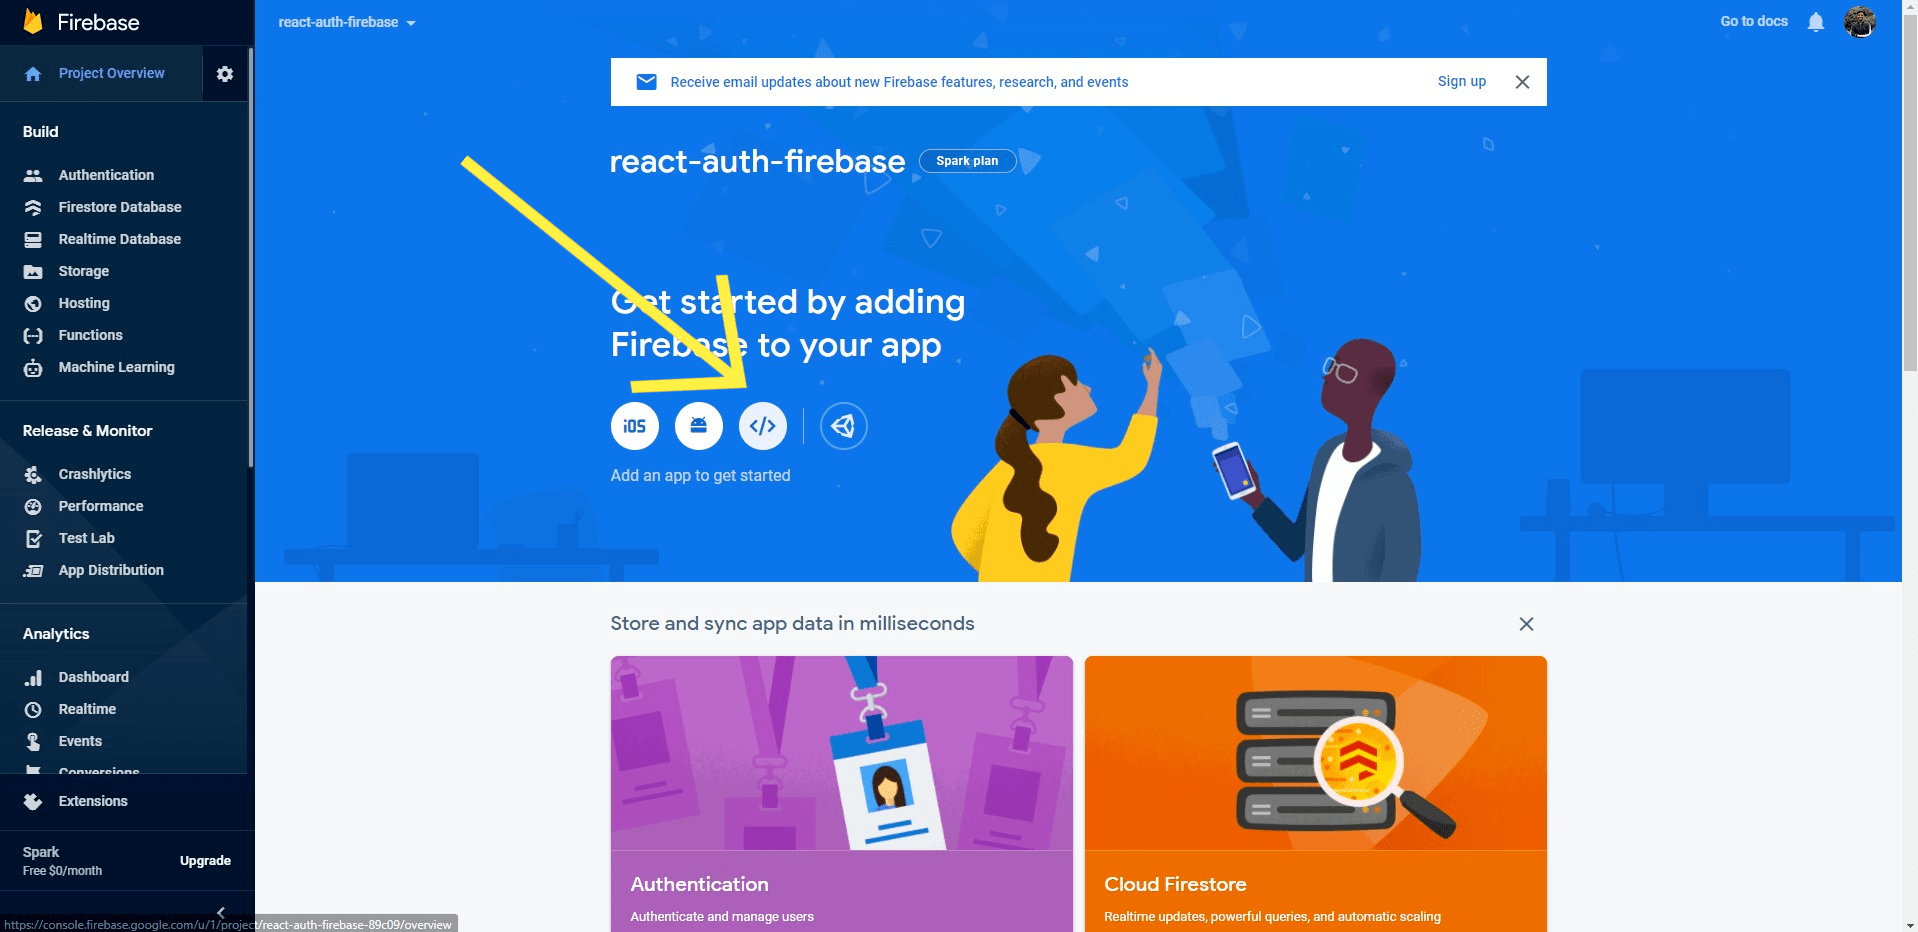
Click on the web app icon to which the arrow is pointing. And it will prompt you to register your app.
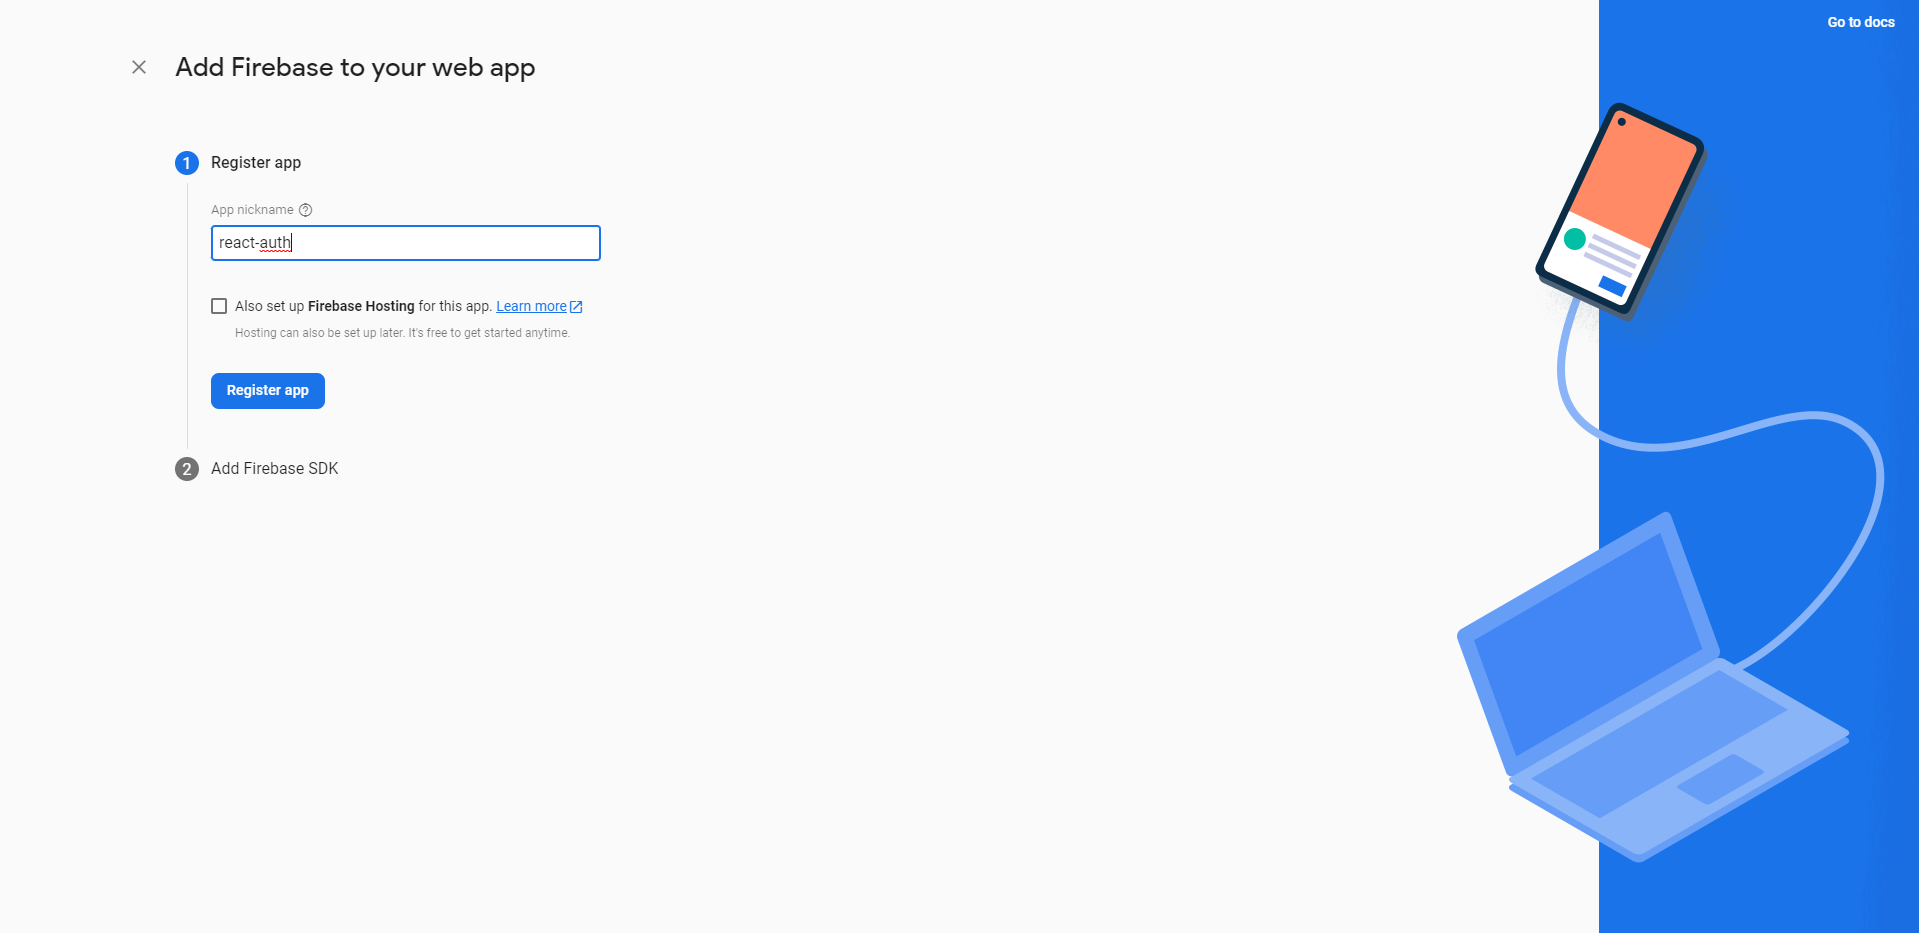 Enter the name of the app ( again, you are free to choose any name for the app ) and click on continue.
Okay so as of now lets skip this process now and click on the Continue to console button and you will be redirected to the dashboard.
3. Enable sign in method in Authentication
Lets go back to the firebase console. Go the Authenticaion menu in the right and click on Get started.
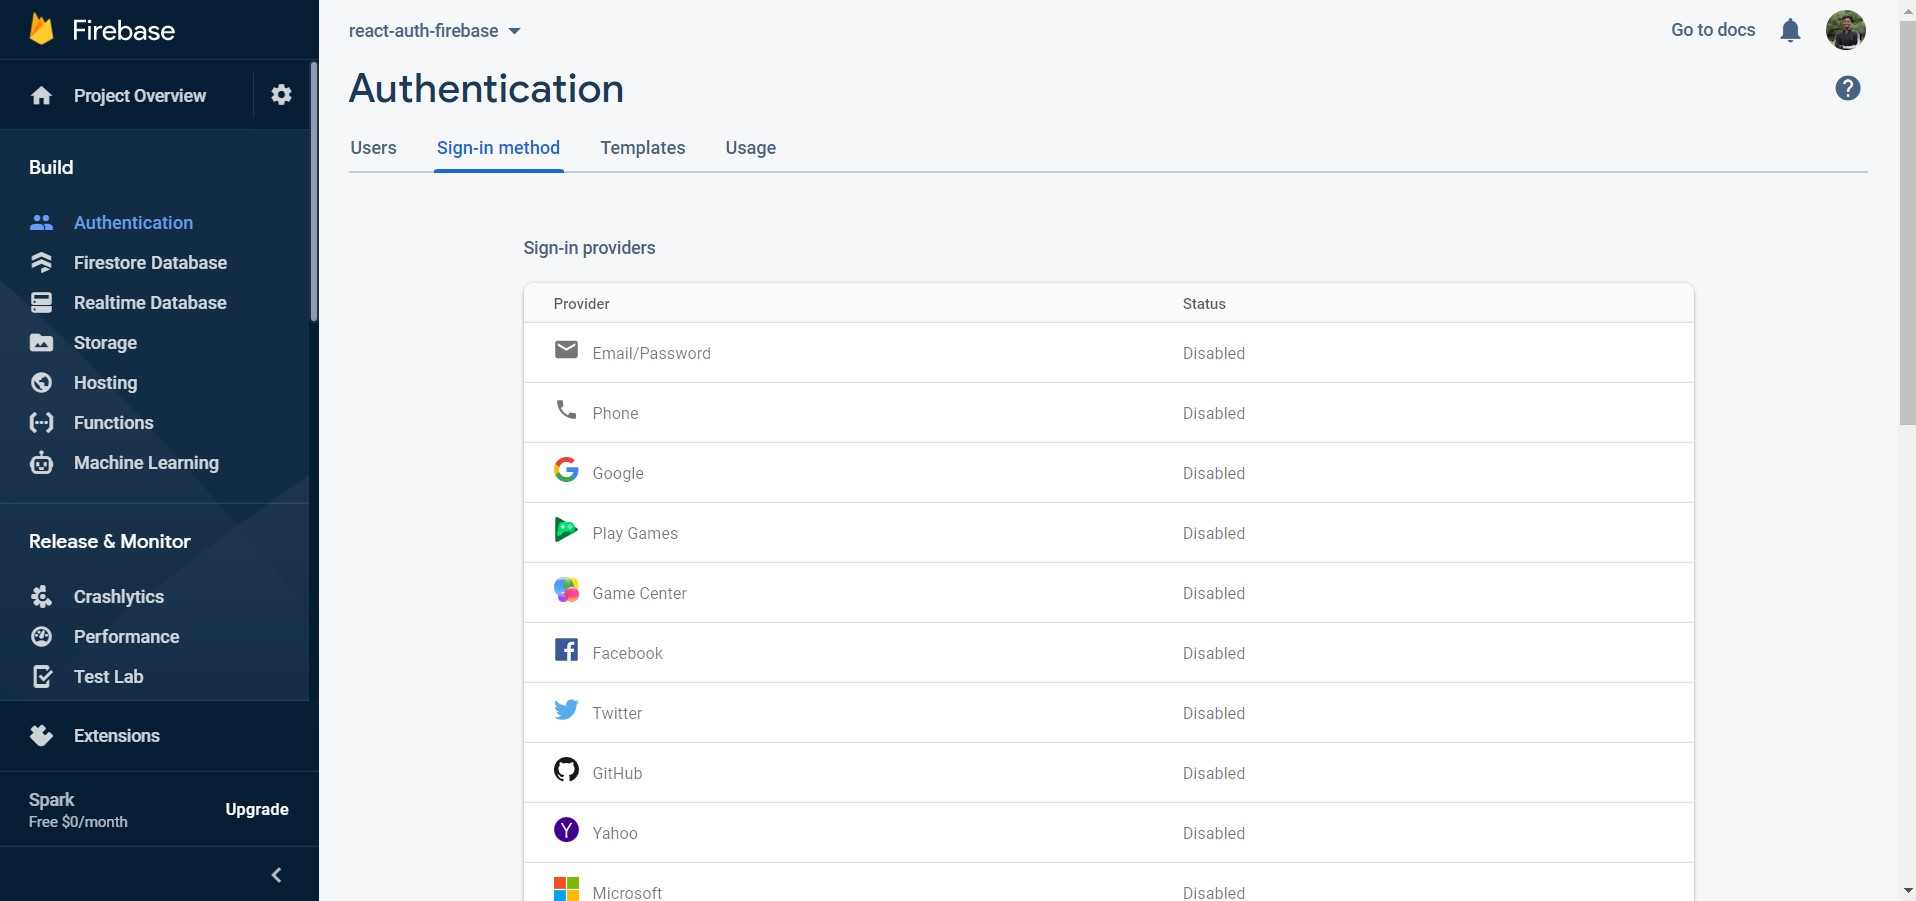
Here you can see all the sign in providers which you can be used to authenticate users. In this project we will be sticking to Email/password sign in method. Click on the first option to enable it.
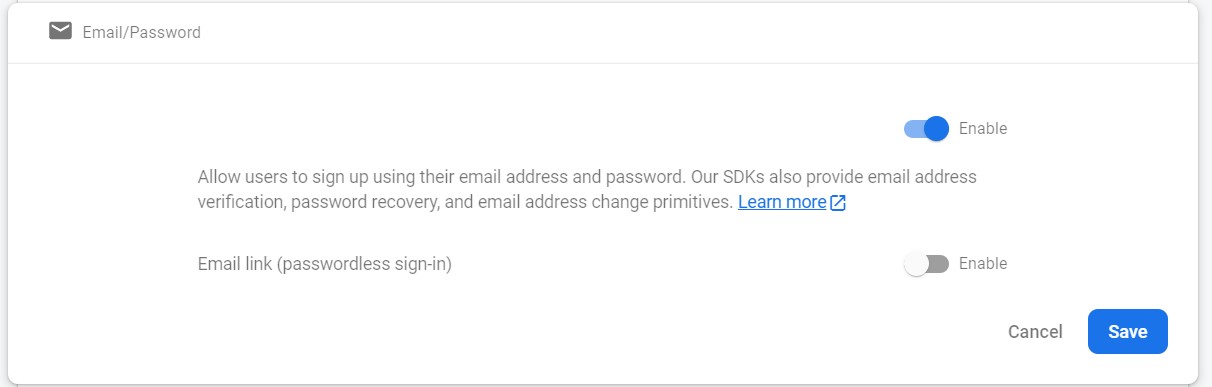
Click on the enable toggle button followed by the save button.
3. Integrating Firebase into our React app
Click on the settings icons ( ⚙️ ) next to Project Overview and select Project Settings and scroll down.
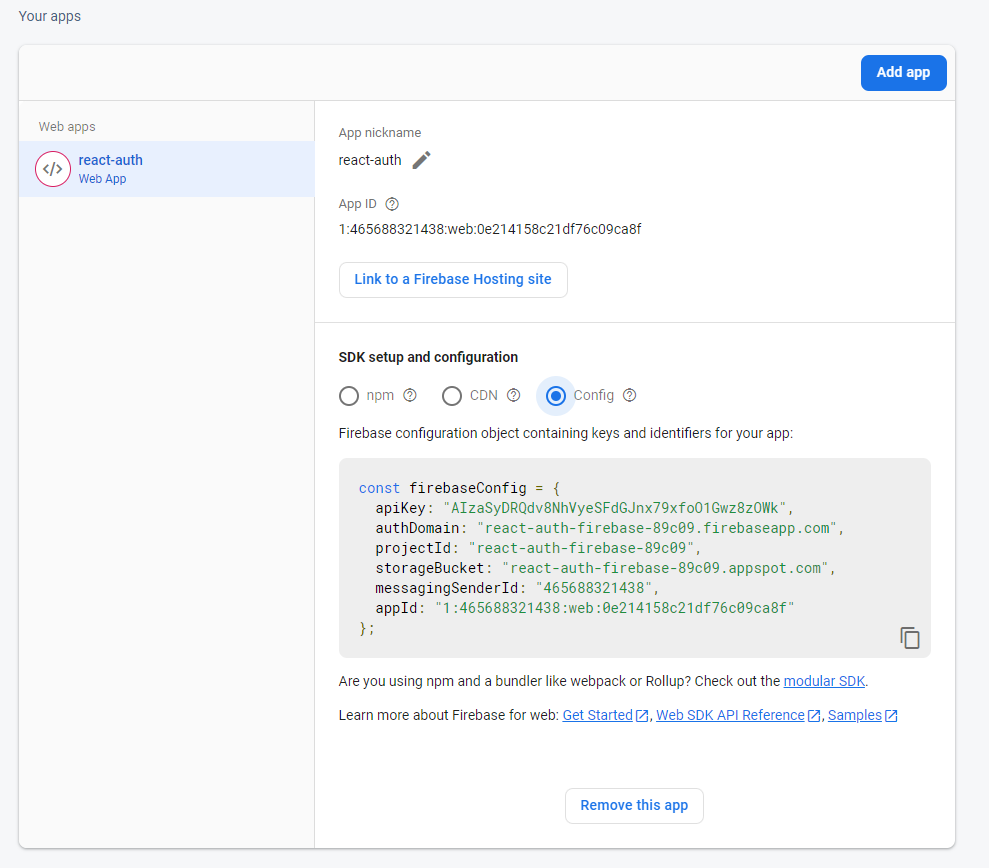
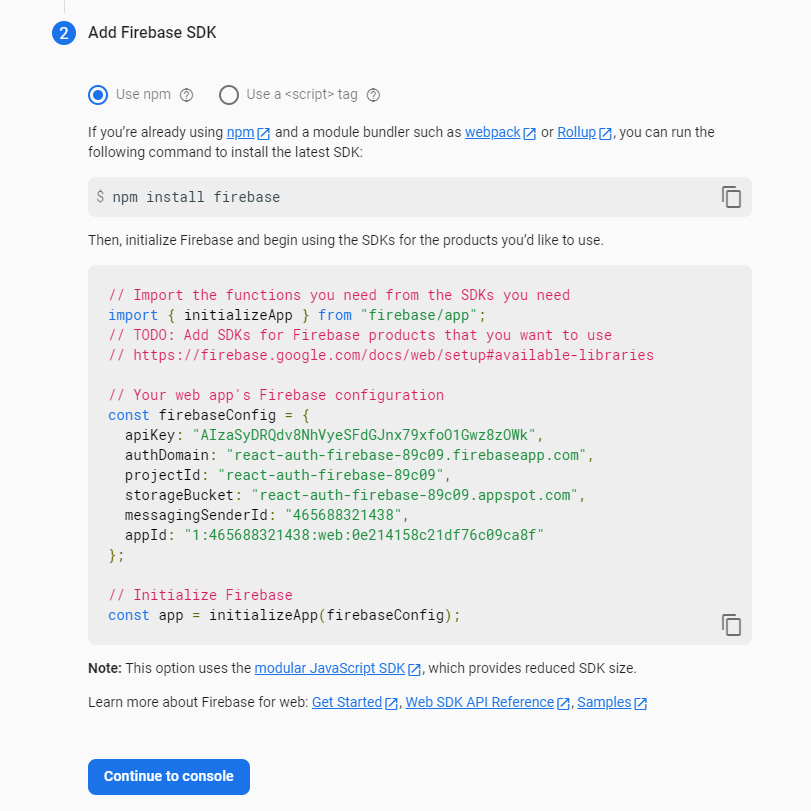
As seen in the image above, select the Config option and copy the code.
Go to your project directory. Inside src folder create a new file named firebase.js . Make sure the filename is correct since we will be importing it later.
Paste the code in firebase.js file
Now, lets install the firebase SDK by running the following command in our project directory.
npm install firebase
Lets make some changes in the firebase.js file.
- import firebase to initialize the app and the authentication service
import firebase from 'firebase/compat';
- Initialize the app and authentication service
const app = firebase.initializeApp(firebaseConfig);
const auth = app.auth();
- export the service
export { auth };
This is how your firebase.js file should look like.
import firebase from 'firebase/compat';

const firebaseConfig = {
  apiKey: 'AIzaSyDRQdv8NhVyeSFdGJnx79xfoO1Gwz8zOWk',
  authDomain: 'react-auth-firebase-89c09.firebaseapp.com',
  projectId: 'react-auth-firebase-89c09',
  storageBucket: 'react-auth-firebase-89c09.appspot.com',
  messagingSenderId: '465688321438',
  appId: '1:465688321438:web:0e214158c21df76c09ca8f',
};

const app = firebase.initializeApp(firebaseConfig);
const auth = app.auth();

export { auth };
4. Create login/signup form and display message.
Now that we have enabled the Email/password sign-in method, we will be using following functions to handle user authentication.
- signInWithEmailAndPassword
- createUserWithEmailAndPassword
- signOut
Lets add these functions in our app by copying the following code in App.js
import './App.css';

import { useState } from 'react';
import { auth } from './firebase';

function App() {
  const [email, setEmail] = useState('');
  const [password, setPassword] = useState('');
  const [message, setMessage] = useState('');
  const [username, setUsername] = useState('Guest');
  const [loggedIn, setLoggedIn] = useState(false);

  const signIn = (event) => {
    event.preventDefault();

    auth
      .signInWithEmailAndPassword(email, password)
      .then((auth) => {
        setMessage('You have successfully logged in!');
        setLoggedIn(true);
        setUsername(auth.user.email);
        resetForm();
      })
      .catch((error) => alert(error.message));
  };

  const register = (event) => {
    event.preventDefault();
    auth
      .createUserWithEmailAndPassword(email, password)
      .then((auth) => {
        setMessage('Your account has been created successfully!');
        setLoggedIn(true);
        setUsername(auth.user.email);
        resetForm();
      })
      .catch((error) => alert(error.message));
  };

  const signOutUser = () => {
    auth
      .signOut()
      .then(() => {
        setMessage('Hello there!');
        setUsername('Guest');
        setLoggedIn(false);
      })
      .catch((error) => alert(error.message));
  };

  const resetForm = () => {
    setEmail('');
    setPassword('');
  };

  return (
    <div className="App">
      <h1>Hello {username}</h1>
      {!loggedIn ? (
        <div className="login__container">
          <h1>Sign-in</h1>
          <form>
            <h5>E-mail</h5>
            <input
              type="text"
              value={email}
              onChange={(event) => setEmail(event.target.value)}
            />
            <h5>Password</h5>
            <input
              type="password"
              value={password}
              onChange={(event) => setPassword(event.target.value)}
            />
            <button
              className="login_singInButton"
              onClick={signIn}
              type="submit"
            >
              Sign In
            </button>
            <button className="login_registerButton" onClick={register}>
              Create your account
            </button>
          </form>
        </div>
      ) : (
        <>
          <h1>{message}</h1>
          <button onClick={signOutUser}>Sign Out</button>
        </>
      )}
    </div>
  );
}

export default App;
State variables
email, password - To store the email and password entered in the form and pass as arguments to the functions.
message - To display a corresponding message after a successful sign in or creation of new account
username - To store the username/email of the user once signed in or registered, with a default value of 'Guest'.
loggedIn - To keep a track whether the user is signed in or signed out and render the components depending on the status of the user.
Functions
signIn() - This function is called after clicking on the Sign In button. In this function we are using signInWithEmailAndPassword() to check if user has an account already and wants to sign in. If the login credentials are correct then a corresponding successful message is displayed else the error is displayed by the alert function.
register() - This function is called after clicking on the Create your account button. In this function we are using createUserWithEmailAndPassword() to help user create a new account. If the email entered does not have an account registered already then a successful message is displayed else the error is displayed by the alert function.
signOutUser() - This function is called after clicking on the logout button. In this function we are using signOut() which signs out the user from the app.
resetForm() - This function is used to empty the form after successful sign in or registration.
Lets add some styling to our app. Copy the following code in App.css.
.app {
  display: flex;
  flex-direction: column;
  align-items: center;
  text-align: center;
  justify-content: center;
  height: 100vh;
  background-color: #222;
}

.app > h1 {
  color: white;
}

.app__container {
  width: 300px;
  height: fit-content;
  display: flex;
  flex-direction: column;
  border-radius: 4px;
  border: 1px solid lightgray;
  padding: 20px;
  background-color: white;
}

.app__container > h1 {
  font-weight: 500;
  margin-bottom: 20px;
}

.app__container > form > h5 {
  margin-bottom: 5px;
}
.app__container > form > input {
  height: 30px;
  margin-bottom: 10px;
  background-color: white;
  width: 98%;
}

.app__container > p {
  margin-top: 15px;
  font-size: 12px;
}

.app_singInButton {
  background: #222;
  border-radius: 2px;
  width: 100%;
  height: 30px;
  color: white;
  margin-top: 10px;
}

.app_registerButton {
  border-radius: 2px;
  width: 100%;
  height: 30px;
  border: 1px solid;
  margin-top: 10px;
  border-color: darkgray;
}
You are good to go!
Run the app and try creating an account. In fact try all the use cases and see how they are handled. In case any condition is not satisfied you will see an alert on the top of the window with the specific error.
Now, lets just verify whether the authentication is really working and the users are being registered or not.
Lets go back to the firebase console and go to the Authentication menu followed by Users tab.
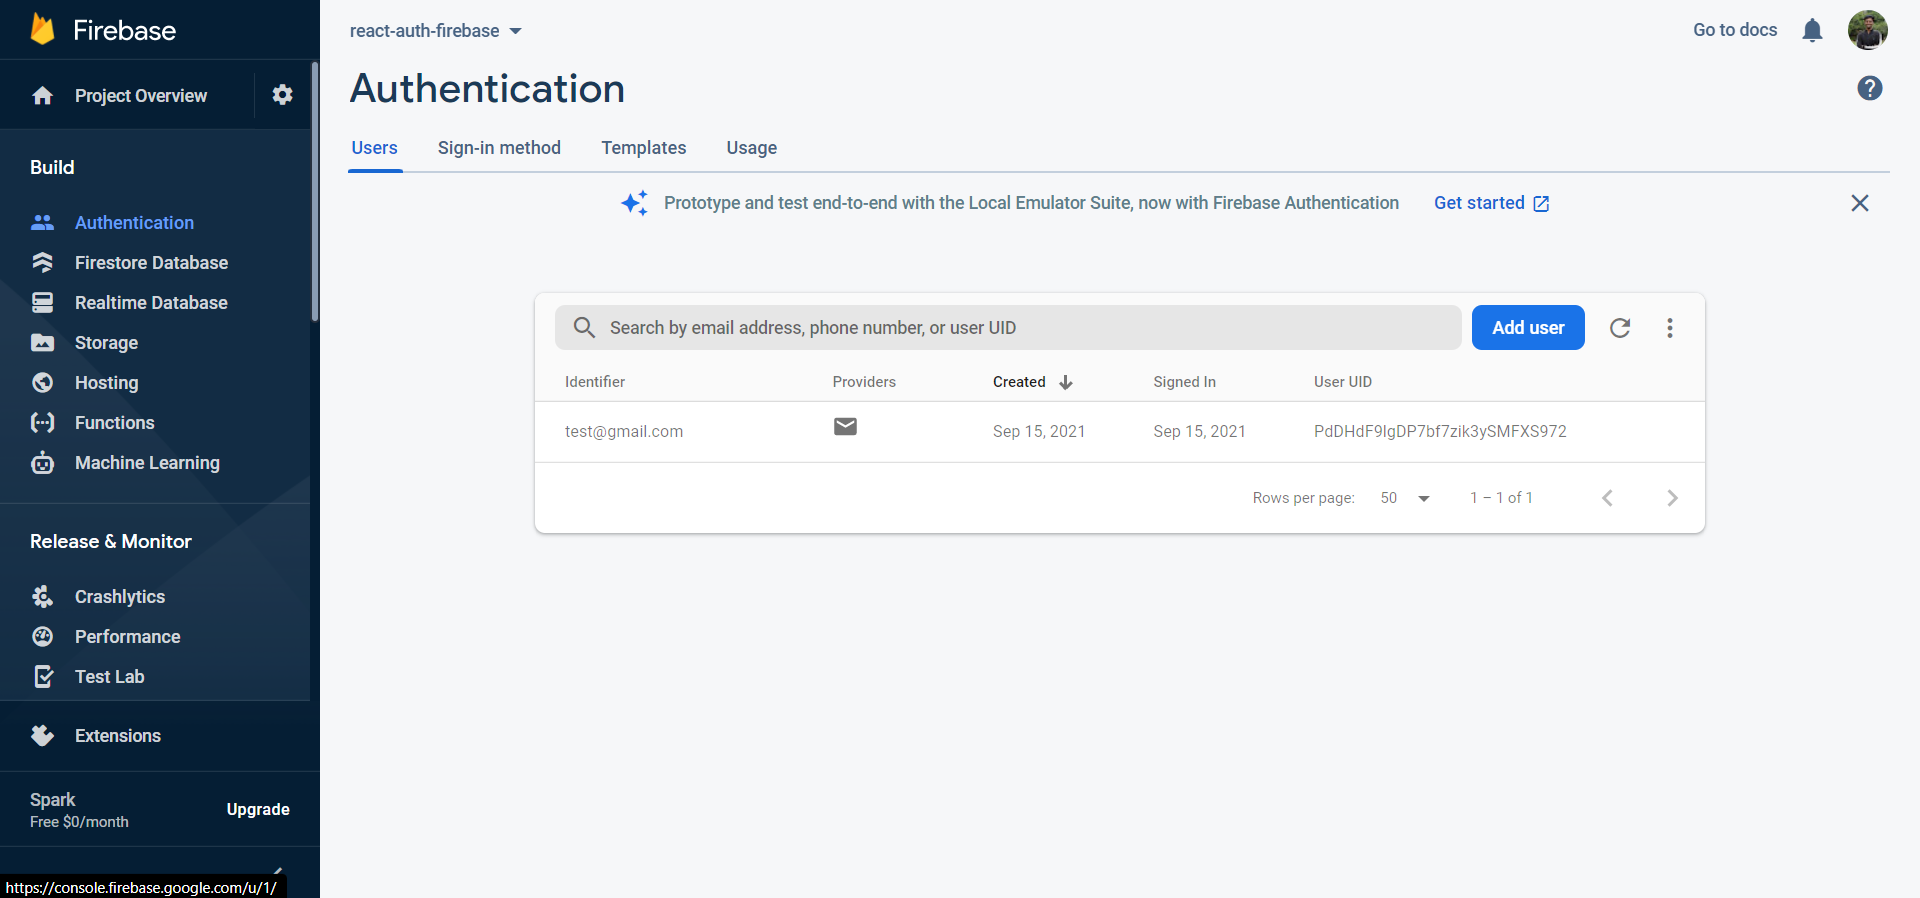
If you have seen the app preview at the start of this post I had created an account using test@gmail.com , which is visible in the records here. Similarly, you will get to see all the registered users in this tab.
NOTE: Since we have used the email/password sign in method to authenticate the user. We can only access the user's email. In order to access other individual details like name, profile picture you can use other signin methods like google sign in, facebook sign in or else ask these details in the sign in form and store in the database.
5. Conclusion
Congratulations! You did it! 🚀
We now have a ReactJS+Firebase authentication flow set up. What next? You can try adding other sign-in methods ( for eg - google sign in, facebook sign in ) by referring to the firebase documentation.
That's it for this post. I hope the tutorial was clear enough to help you. See you in the next one!


